Our Printing Process
Accepted File Types
- Illustrator - .AI
- Photoshop - .PSD
- Vector - .EPS
- JPEG
Requirements
All artwork must be 300 dpi or in vector format. Designs that are not 300 dpi cannot be scaled or increased in size. This will result in a blurry image. Files created using a vector-based software such as Adobe Illustrator can be stretched or re-sized without getting pixelated or blurry.
Design Size
All files must be sent in the exact size as you wish it to appear on a tee. Please ensure the actual design is to size and not measured based on the size of the background or canvas.
Fonts
If your files are created in Illustrator, please convert all the fonts into vectors by selecting all the type in your design and creating outlines. If your files are created in Photoshop, rasterize all your text before submitting the design. The font files (.ttf) can also be submitted with your design.
Mockups
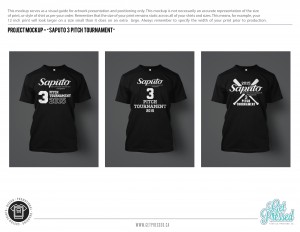
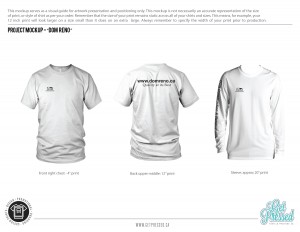
Before your design is prepared onto a screen, we always send a digital mockup to ensure you are satisfied with the placement and sizing on your selected garment.
Help
We understand that not everyone is design savvy. If you require any assistance with creating a design or making it print-ready, our graphic designers will be more than happy to help! Please inquire for our graphic design rates.
Colours
Every colour in a design requires its own separate screen. For example, a design with 3 colours will need 3 screens in order to fulfill the order. At GetPressed, your first two screen setups are always free!
The Process
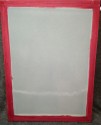
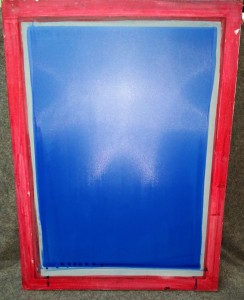
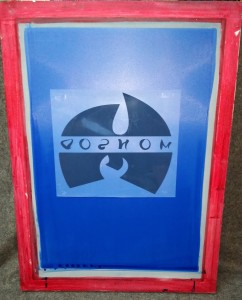
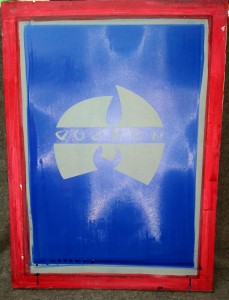
Every screen used is clean and coated with a layer of photo-sensitive emulsion and allowed to dry. Your design is printed black on a clear film, placed against the screen, and then exposed to ultraviolet light. The light causes the emulsion to harden and bind to the mesh on the screen. Where the light strikes the screen, the emulsion will bind, making a solid layer. Where the light is blocked (ie// where your black image is placed) the emulsion remains water-soluble. After exposing the screen, the screen is washed with water, washing off the emulsion only where your image was placed; this clear area is where ink will be pressed through the screen when you print. Voila, your screen is ready for print!
Registration
Each screen is reviewed to confirm the artwork looks crisp and without error. Once approved, the screens are placed onto the printing press. If a design includes two or more colours, each screen is registered to ensure the colours align perfectly together without unwanted gaps or spaces in between.
Inks
We can match any colour using our Pantone Matching System. The most accurate way to getting the Pantone reference for the colour you've chosen is to use what's called the "Pantone Formula Guide". This is where you pick the color from a color card in its printed state and get its reference code. Once you have this code, send it to us and we can accurately reproduce that exact color and tone. The other (less accurate) way is to use the online Pantone color finder and just pick something on your screen that closely represents the color you need. The issue with this method is that you are picking a color/tone from your computer screen but if your screen is not calibrated then you might end up picking a different color than what the Pantone code actually represents. So unless you see exactly how it looks in its printed state on the Formula Guide (or on a calibrated screen), you may end up taking a bit of a gamble if you need something very specific.
Production
Before production begins, a test run is always performed to make certain the print looks as it does in the artwork provided. Once confirmed, production can finally begin! Prints are produced by pressing ink through the screen onto the tees. Once printed, the tees are sent to a textile dryer to cure the ink. Our tees are stretched tested every run to ensure the inks are fully cured and will not crack.

